

It's amazingly easy to build homemade speakers. This project follows a classic design that has been in use ever since Alexander Graham Bell patented his first electric loudspeaker as part of his telephone in 1876.
Once your speaker is built, experiment with other styrofoam tableware, such as cups and bowls. You will find that simply placing a cup on top of your plate changes the sound dramatically. In fact, as a follow on project, you could make your own high-fidelity speaker with a tweeter (a small styrofoam cup), a mid-range speaker (a larger styrofoam cup) and a sub-woofer (a styrofoam plate).
If you want to use your speaker with a low-power audio source, such as an iPod, you will need some sort of amplifier. You could use a stereo amplifier, a handheld amp, or you may even consider building your own Crackerbox Amp.
MATERIALS:
One styrofoam plate
Two different color sheets of paper (regular bond)
Two business cards
Magnet wire, 32-gauge enameled, 20' [All Electronics part MW-32-2, $15.90 for 2,430']
3/5" dia. neodymium cylinder magnets; 3/8" high [K&J Magnets part DA2, $0.72 ea.]
Flat piece of wood (or cardboard), preferably larger than the plate
Audio extension cord – mono is better [All Electronics part CB-3561, $1.00 ea.]
One pair of 1.22" alligator clips [All Electronics part ALG-29, $2.50 for 10]
TOOLS:
Scissors
Drill (optional)
Drill bit the diameter of your stacked magnets (optional)
Scotch tape
Popsicle stick
Paper cutter
Silpat or other silicone non-stick backing mat
Glue gun
Ruler
Lighter
Multi-meter
Automatic wire strippers
Calipers (optional)
INSTRUCTIONS:
Step 1.
Get a partner.
Organize your materials.
Set your glue gun to high temp.


Now squirt a lot of glue around the cylinder. Make it thick and make sure glue touches the cylinder all the way around. Don't worry about making it too big. You can always trim it with scissors. BUT BE CAREFUL try not to get glue under the cylinder or touch the cylinder with the tip of the glue gun. Anchoring your elbows on the table will help you steady yourself.


Tape the wire lead to the end of the drill bit to keep it out of the way.

Hold the drill with one hand. Then, with your other hand, LOOSELY guide the magnet wire onto the cylinder. DO NOT MOVE YOUR HAND BACK AND FORTH, JUST GUIDE THE WIRE ONTO THE CENTER OF THE CYLINDER. You want the wire to be barely taught BUT NOT TIGHT. If it's too tight, it will crush your cylinder and you will have to start over.

If for any reason you stop coiling, wrap a piece of tape TIGHTLY ALL THE WAY AROUND your coil to prevent the coil from unraveling.

Step 4.
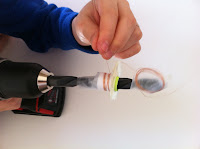
Wrap the wire at least 100 coils, then check its impedance. But before you do anything, wrap the coil in tape so it won't come uncoiled. To check impedance, you will first need to burn the insulation of the magnet wire. Use a lighter.


Step 2.
Use the paper cutter to cut 2 strips of different colored paper: one that is ½"×11" (that is ½ inch wide and 11 inches long) and another that is ¾"x11”.

TIGHTLY coil the ½" wide strip lengthwise around the magnets.

Tape it closed. BUT DO NOT don’t tape the paper to the magnets.

Now align the tops of the two strips of paper and wrap the ¾" strip of paper around the first strip.

Tightly coil the second strip of paper around the first.

Now tape the second coil closed, BUT DO NOT tape it to the first roll of paper.

Step 3.
We now have to coil wire around the cylinder. You can do it by hand or you can use a drill. (If you do it by hand, glue the cylinder to the plate with the magnets inserted and start coiling.) We prefer a drill because it speeds things up and is easier for kids. But first, we put a rim (made from hot glue) on the cylinder to keep the wire in place as we spin the drill. This seems to help the kids coil, but it's optional.
Place your cylinder on the Silpat and remove the magnets. (Otherwise, they will stick to your glue gun.)

Now squirt a lot of glue around the cylinder. Make it thick and make sure glue touches the cylinder all the way around. Don't worry about making it too big. You can always trim it with scissors. BUT BE CAREFUL try not to get glue under the cylinder or touch the cylinder with the tip of the glue gun. Anchoring your elbows on the table will help you steady yourself.

When you are finished, push down on the cylinder to make sure no glue is seeping underneath.

This is what it should look like when you are done.

Turn the glue gun to low temp (so it doesn't burn the styrofoam when you glue later).

While the glue is drying, put a spool of magnet wire on a dowel or pencil so it can spin freely. Have your partner hold the dowel or, if you don't have a partner, tape the dowel to the edge of a table using duct tape.

After the glue is dry, use scotch tape to tape the cylinder about halfway down the drill bit. Make sure the cylinder can't spin on the bit. In the photos below, we wrapped two pieces of tape around the drill bit.


Tape the magnet wire in the middle of the cylinder but leave about two feet hanging off the end. Then coil the excess wire in a loop and tape the loop loosely together.

Tape the wire lead to the end of the drill bit to keep it out of the way.

Hold the drill with one hand. Then, with your other hand, LOOSELY guide the magnet wire onto the cylinder. DO NOT MOVE YOUR HAND BACK AND FORTH, JUST GUIDE THE WIRE ONTO THE CENTER OF THE CYLINDER. You want the wire to be barely taught BUT NOT TIGHT. If it's too tight, it will crush your cylinder and you will have to start over.


If for any reason you stop coiling, wrap a piece of tape TIGHTLY ALL THE WAY AROUND your coil to prevent the coil from unraveling.

Step 4.
Wrap the wire at least 100 coils, then check its impedance. But before you do anything, wrap the coil in tape so it won't come uncoiled. To check impedance, you will first need to burn the insulation of the magnet wire. Use a lighter.

Attach your multi-meter to the burned copper using wires with alligator clips at each end.

The impedance should be at least 7 ohms.

Another way to check is using calipers. The coil should be about 0.88" thick.
Step 5.
When your coil is finished, make sure the coil is taped tightly so it won't unwind. Then leave about 2' of wire as a lead and cut the wire after your lead.

Take the cylinder and wire coil off the drill and trim away any excess tape.

Remove the inner cylinder. You can probably do this by hand.


Find the center of the BACK of the plate and mark it. Then glue the cap on the plate. PUSH IT TIGHTLY BUT SUPPORT THE PLATE WITH YOUR OTHER HAND SO YOU DON'T CRACK THE PLATE!

Fold the two business cards widthwise into W shapes. Crease them well so the W's are compact. They should be about an inch wide. CHECK THE HEIGHT BEFORE GLUING. Make sure the magnets will be positioned slightly inside the opening of the cylinder when the plate is glued to the cards and the cards glued to the wood backing.

Once your positioning is correct, glue one end of each business card to the back of the plate. MAKE SURE THE CARDS ARE PARALLEL AND TO EACH OTHER, WITH SYMMETRICAL POSITIONING.

Then turn the glue gun to high.
After the glue gun warms up, put some glue on the other end of each business card and glue them to the base.

Glue everything well or you will hear a vibrating noise when you play your music.

Separate one magnet from the rest. You will glue this magnet to the base.
Now, push down on the plate and notice where the cylinder touches the wood. This is where you will glue your magnet. You can also mark it with a pen but this isn't necessary as long as you can remember the spot.
Make sure the glue gun is super hot so your glue won't dry too fast, and put a huge glob of glue on a popsicle stick.

Then, use the popsicle stick to apply a lot to the base where your magnet is going. Then QUICKLY put the magnet LIGHTLY in place and lower the plate to make sure the positioning is correct. Adjust the magnet if the positioning is even slightly off. Once you get the exact positioning, push the magnet down to set it in place.

Step 6.
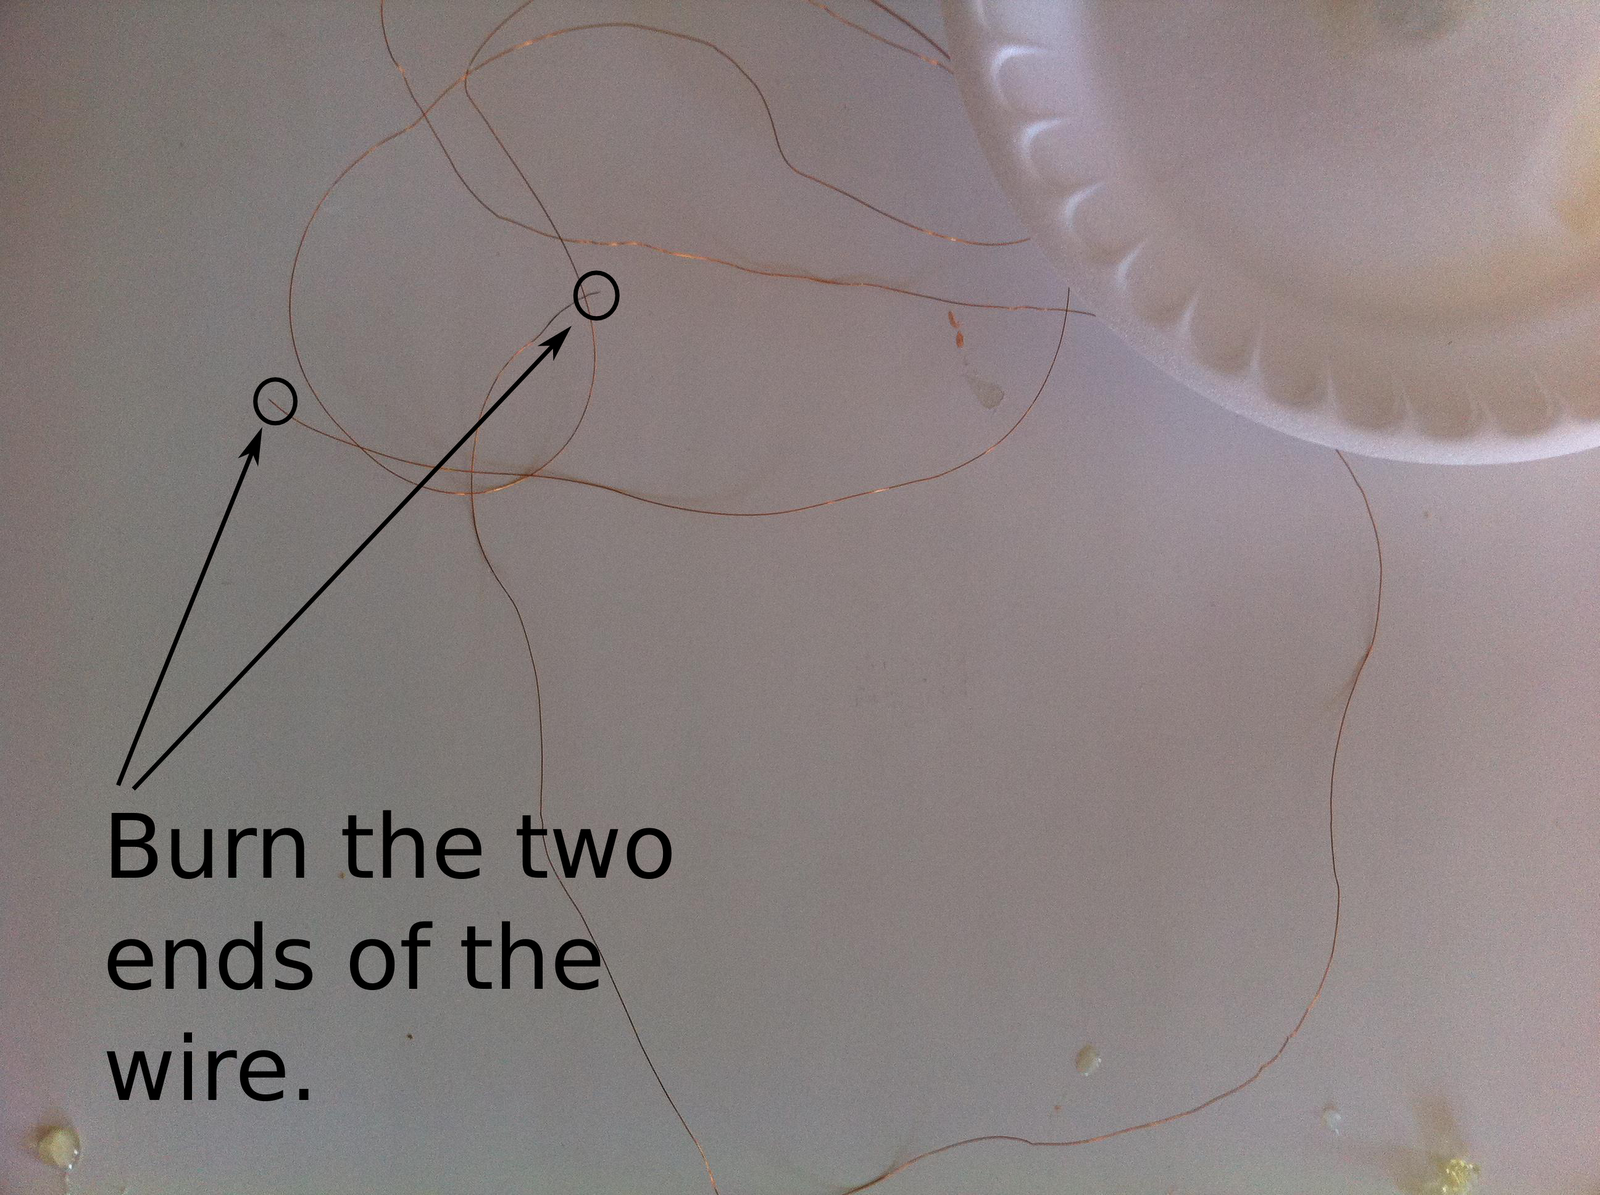
Uncoil the leads and trim them so they are about the same length (2 feet or so). Then burn a inch or so of the ends if you haven't already done so.
Cut a 3.5mm extension cord in half. Take half and give the other to your partner. Strip about 2" of the outer insulation. Then strip the two inner insulating casings.

Twist each magnet wire around one of the stripped wires.

Then clip them with alligator clips. BUT make sure the wires and clips don't touch each other.

Enjoy!
I recently came across your blog and have been reading along. I thought I would leave my first comment. I don’t know what to say except that I have enjoyed reading. singapore stojo cup
ReplyDelete